
How To Crochet Handles For A Tote Bag?

Crocheting handles for a tote bag is a practical and creative way to add a personal touch to your handmade accessory. Whether you're a seasoned crocheter or a beginner, creating sturdy and stylish handles can enhance the functionality and aesthetic of your tote bag. In this article, we will explore various methods and techniques for crocheting handles, ensuring that you can find the perfect style to suit your needs.
Understanding the Basics
Before diving into the different methods, it's essential to understand the basic requirements for crocheting handles. The primary considerations include:
1. Durability: Handles need to be strong enough to support the weight of the items you plan to carry in your tote bag.
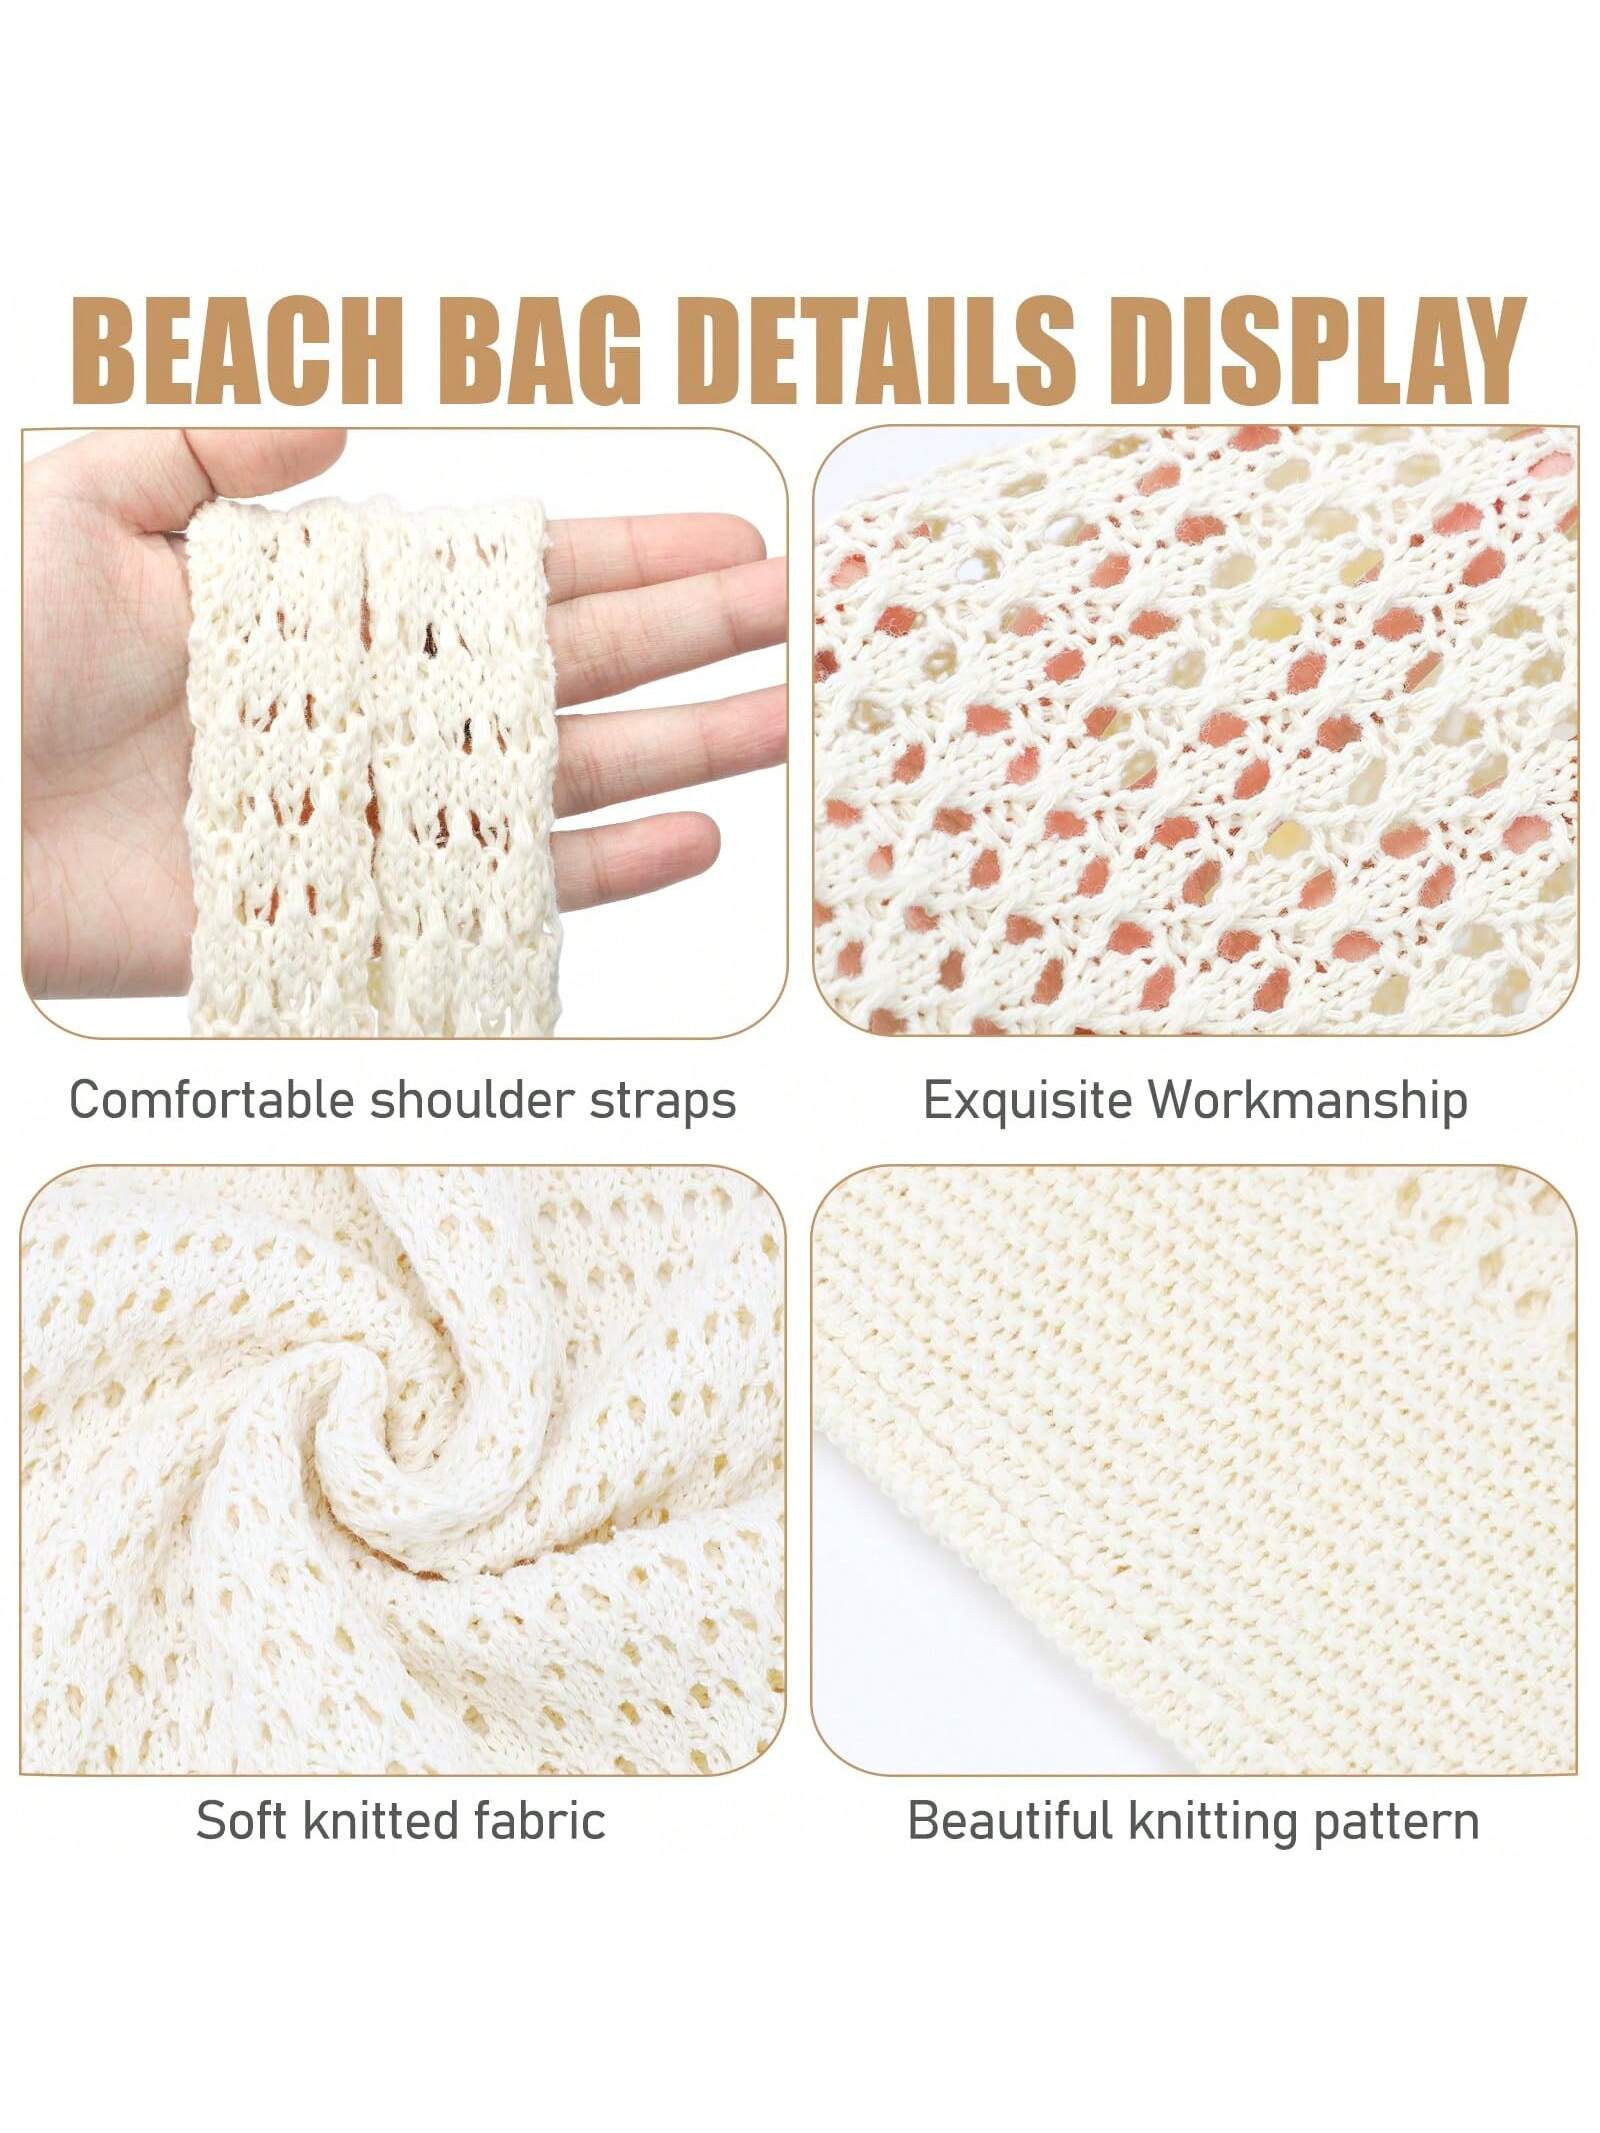
2. Comfort: Handles should be comfortable to hold, especially if you intend to carry the bag for extended periods.
3. Aesthetics: The design of the handles should complement the overall look of the tote bag.
Materials Needed
To crochet handles for your tote bag, you will need the following materials:
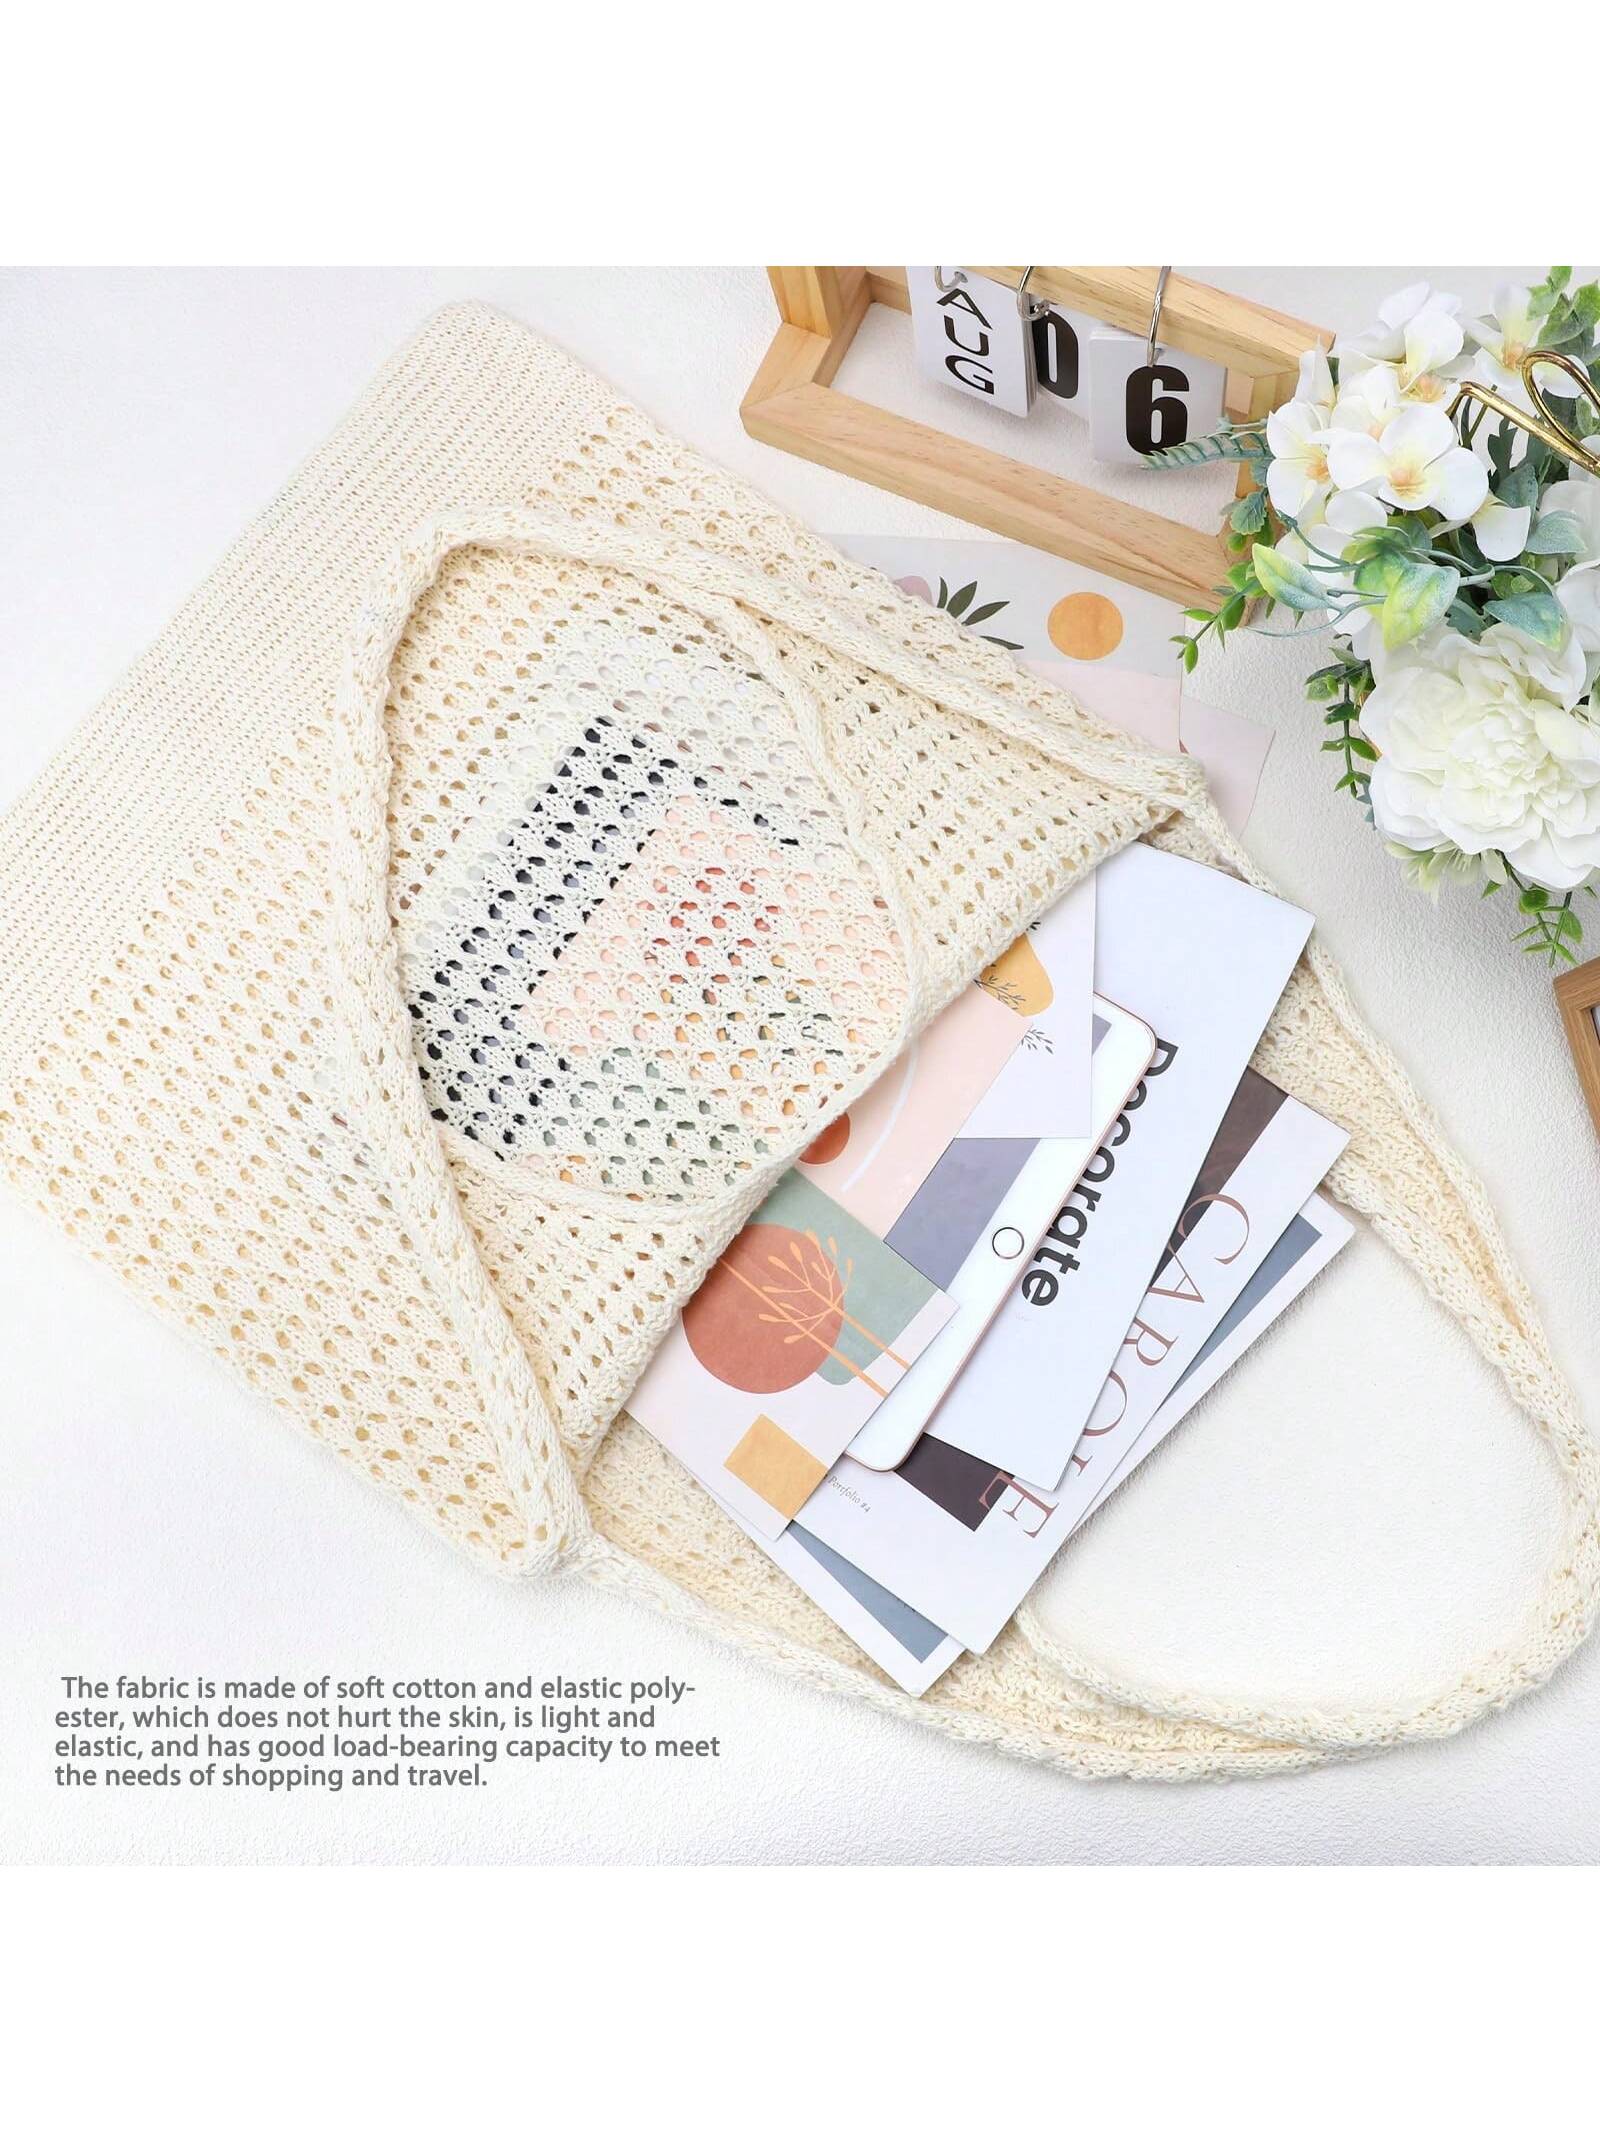
- Yarn: Choose a yarn that matches or complements the yarn used for the tote bag. For added durability, consider using a sturdy yarn like cotton or a blend with synthetic fibers.
- Crochet Hook: Use a hook size that corresponds to the yarn weight.
- Scissors: For cutting the yarn.
- Tapestry Needle: For weaving in ends.
Method 1: Simple Single Crochet Handles
One of the easiest methods to create handles is by using single crochet stitches. This method is suitable for beginners and provides a sturdy and straightforward handle.
Instructions:
1. Chain the Desired Length: Start by chaining the length you want for your handle. Remember that the chain will stretch slightly, so make it a bit shorter than the final desired length.
2. Single Crochet Across: Turn your work and single crochet into each chain stitch. Continue this process until the handle reaches the desired width. Typically, 4-6 rows of single crochet stitches are sufficient.
3. Attach to the Bag: Once the handle is complete, use a tapestry needle to sew the ends of the handle securely to the tote bag. Ensure that the stitches are tight and even to prevent the handle from coming loose.
Method 2: Braided Handles
Braided handles add a unique and stylish touch to your tote bag. This method involves creating three separate strands and braiding them together.
Instructions:
1. Create Three Strands: Chain three separate strands, each the desired length of the handle. Make sure all three strands are of equal length.
2. Single Crochet Each Strand: Single crochet across each chain to create three sturdy strands.
3. Braid the Strands: Once you have three strands, braid them together tightly. Secure the ends with a knot or by sewing them together.
4. Attach to the Bag: Sew the braided handle to the tote bag using a tapestry needle. Ensure that the attachment points are secure and evenly spaced.
Method 3: Tunisian Crochet Handles
Tunisian crochet, also known as Afghan crochet, creates a dense and durable fabric, making it an excellent choice for handles.
Instructions:
1. Chain the Desired Length: Start by chaining the length you want for your handle.
2. Tunisian Simple Stitch (TSS): Insert the hook into the second chain from the hook, yarn over, and pull up a loop. Continue this process across the chain. For the return pass, yarn over and pull through one loop, then yarn over and pull through two loops until you have one loop left on the hook.
3. Repeat Rows: Continue working in Tunisian Simple Stitch until the handle reaches the desired width.
4. Bind Off: To finish, bind off by working a slip stitch into each vertical bar across the row.
5. Attach to the Bag: Sew the ends of the handle to the tote bag securely.
Method 4: I-Cord Handles
I-cord handles are tubular and provide a comfortable grip. They are created using double-pointed needles or a crochet hook.
Instructions:
1. Chain a Small Number of Stitches: Typically, 3-5 stitches are sufficient for an I-cord.
2. Work in the Round: Instead of turning your work, slide the stitches to the other end of the needle or hook and continue crocheting. This creates a tube-like structure.
3. Continue Until Desired Length: Keep working in the round until the I-cord reaches the desired length.
4. Attach to the Bag: Sew the ends of the I-cord to the tote bag securely.
Tips for Success
- Reinforce the Attachment Points: To ensure the handles are securely attached, reinforce the attachment points with extra stitches or a small piece of fabric.
- Test the Strength: Before using the tote bag, test the strength of the handles by carrying a few items. Make any necessary adjustments to ensure durability.
- Match the Yarn: Use the same type of yarn for the handles as the tote bag to maintain consistency in texture and color.
Crocheting handles for a tote bag is a rewarding project that allows you to customize your accessory to your liking. Whether you prefer simple single crochet handles, stylish braided handles, durable Tunisian crochet handles, or comfortable I-cord handles, there is a method to suit every skill level and style preference. By following the instructions and tips provided in this article, you can create functional and beautiful handles that enhance the overall look and usability of your tote bag. Happy crocheting!


Leave your comment