
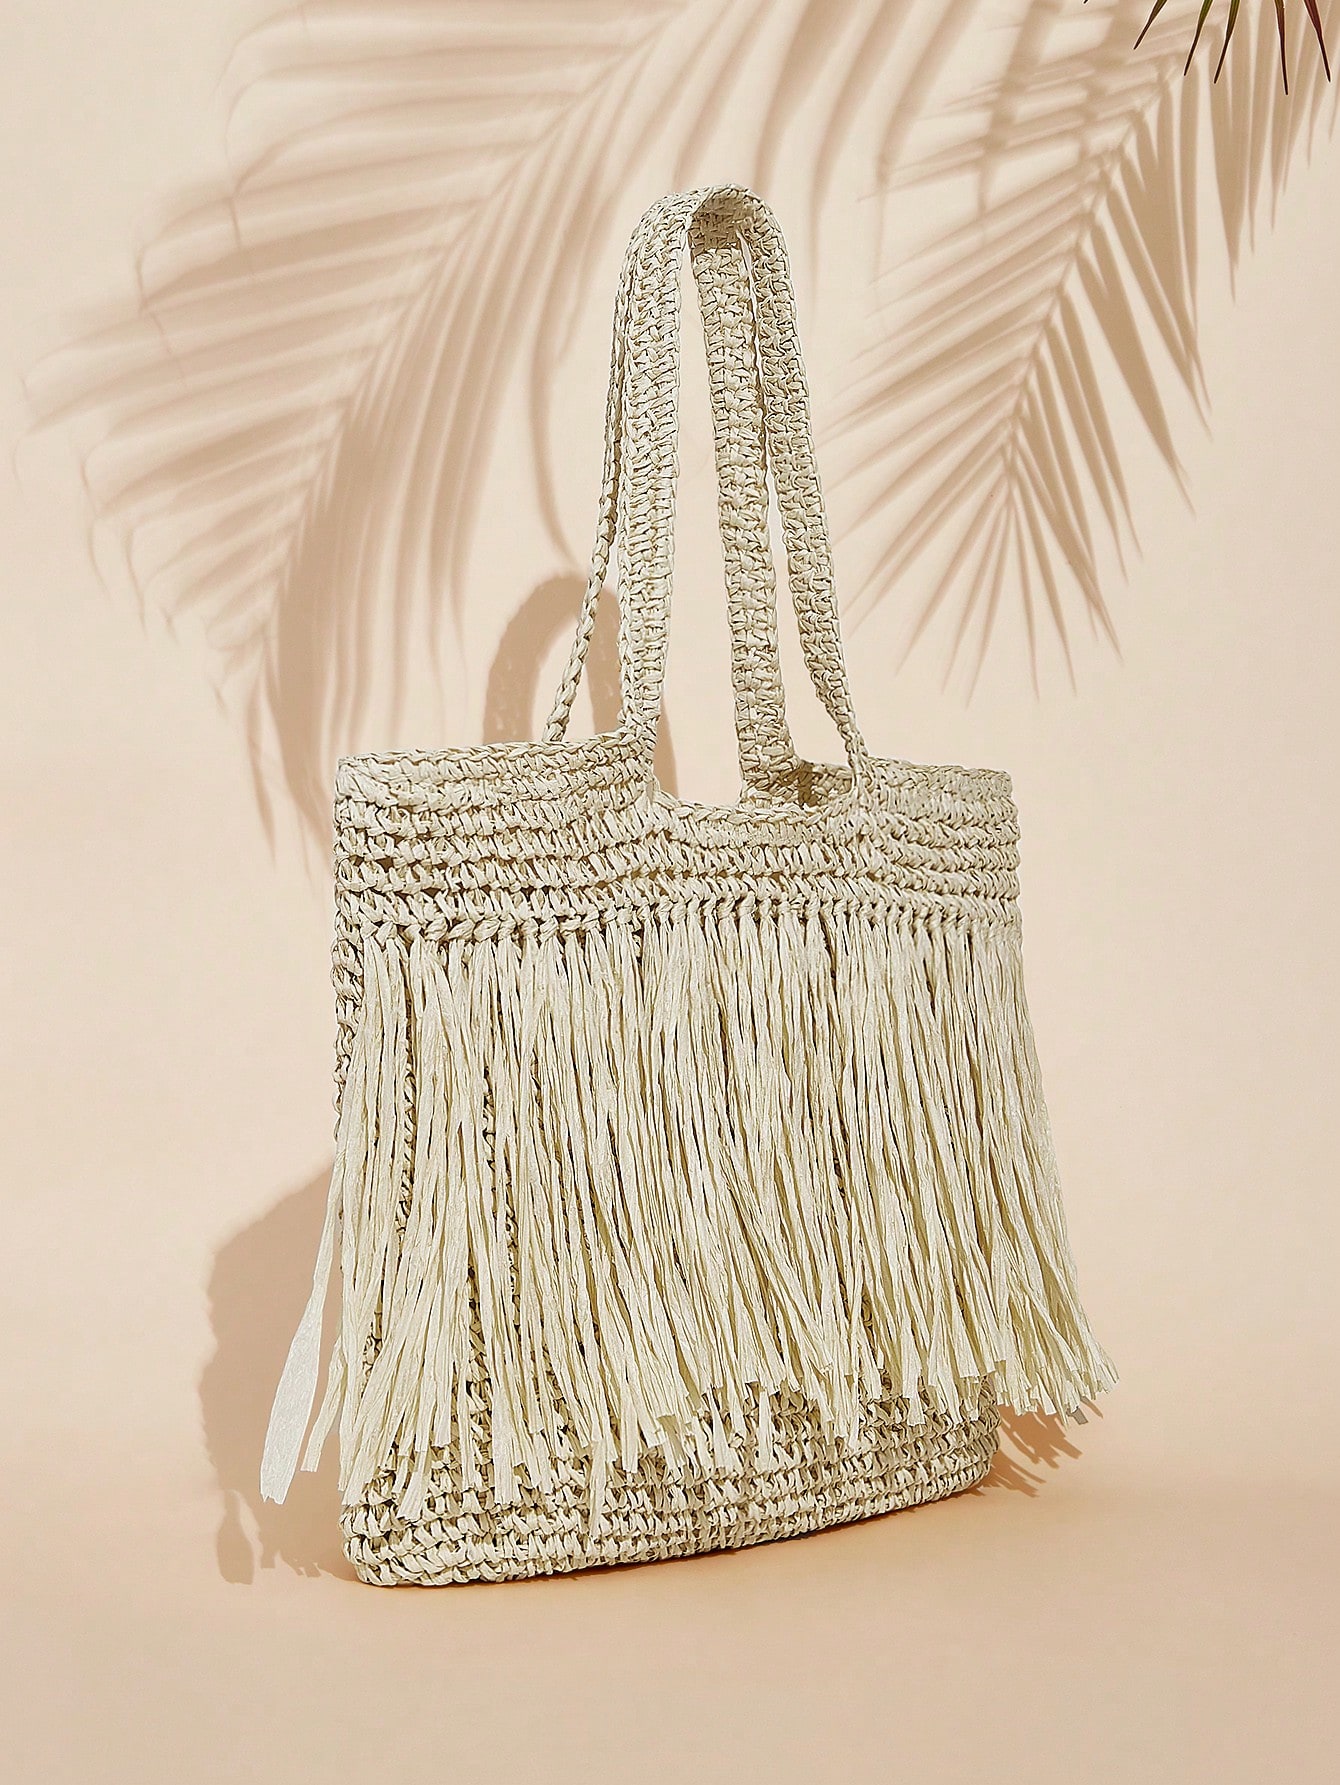
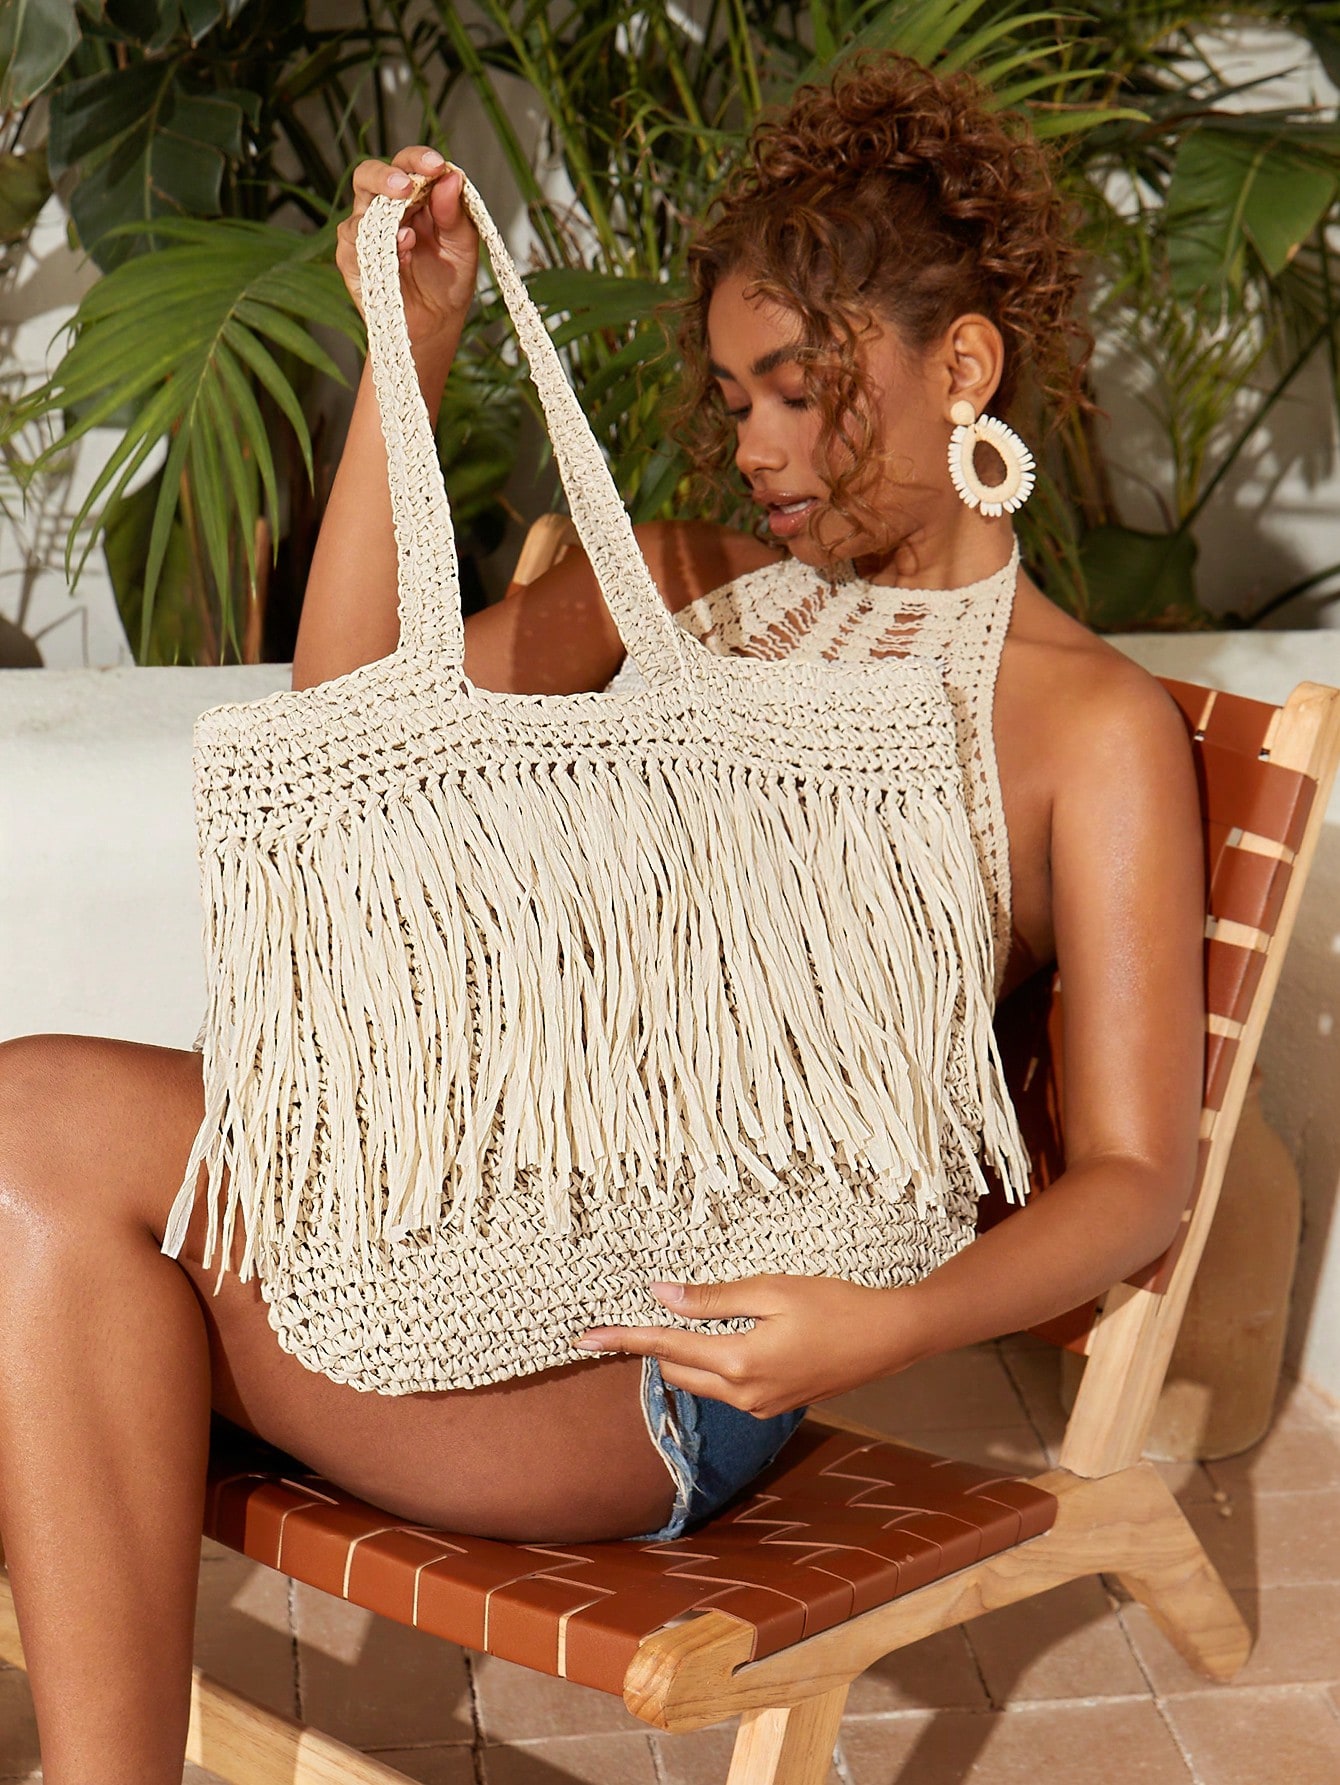
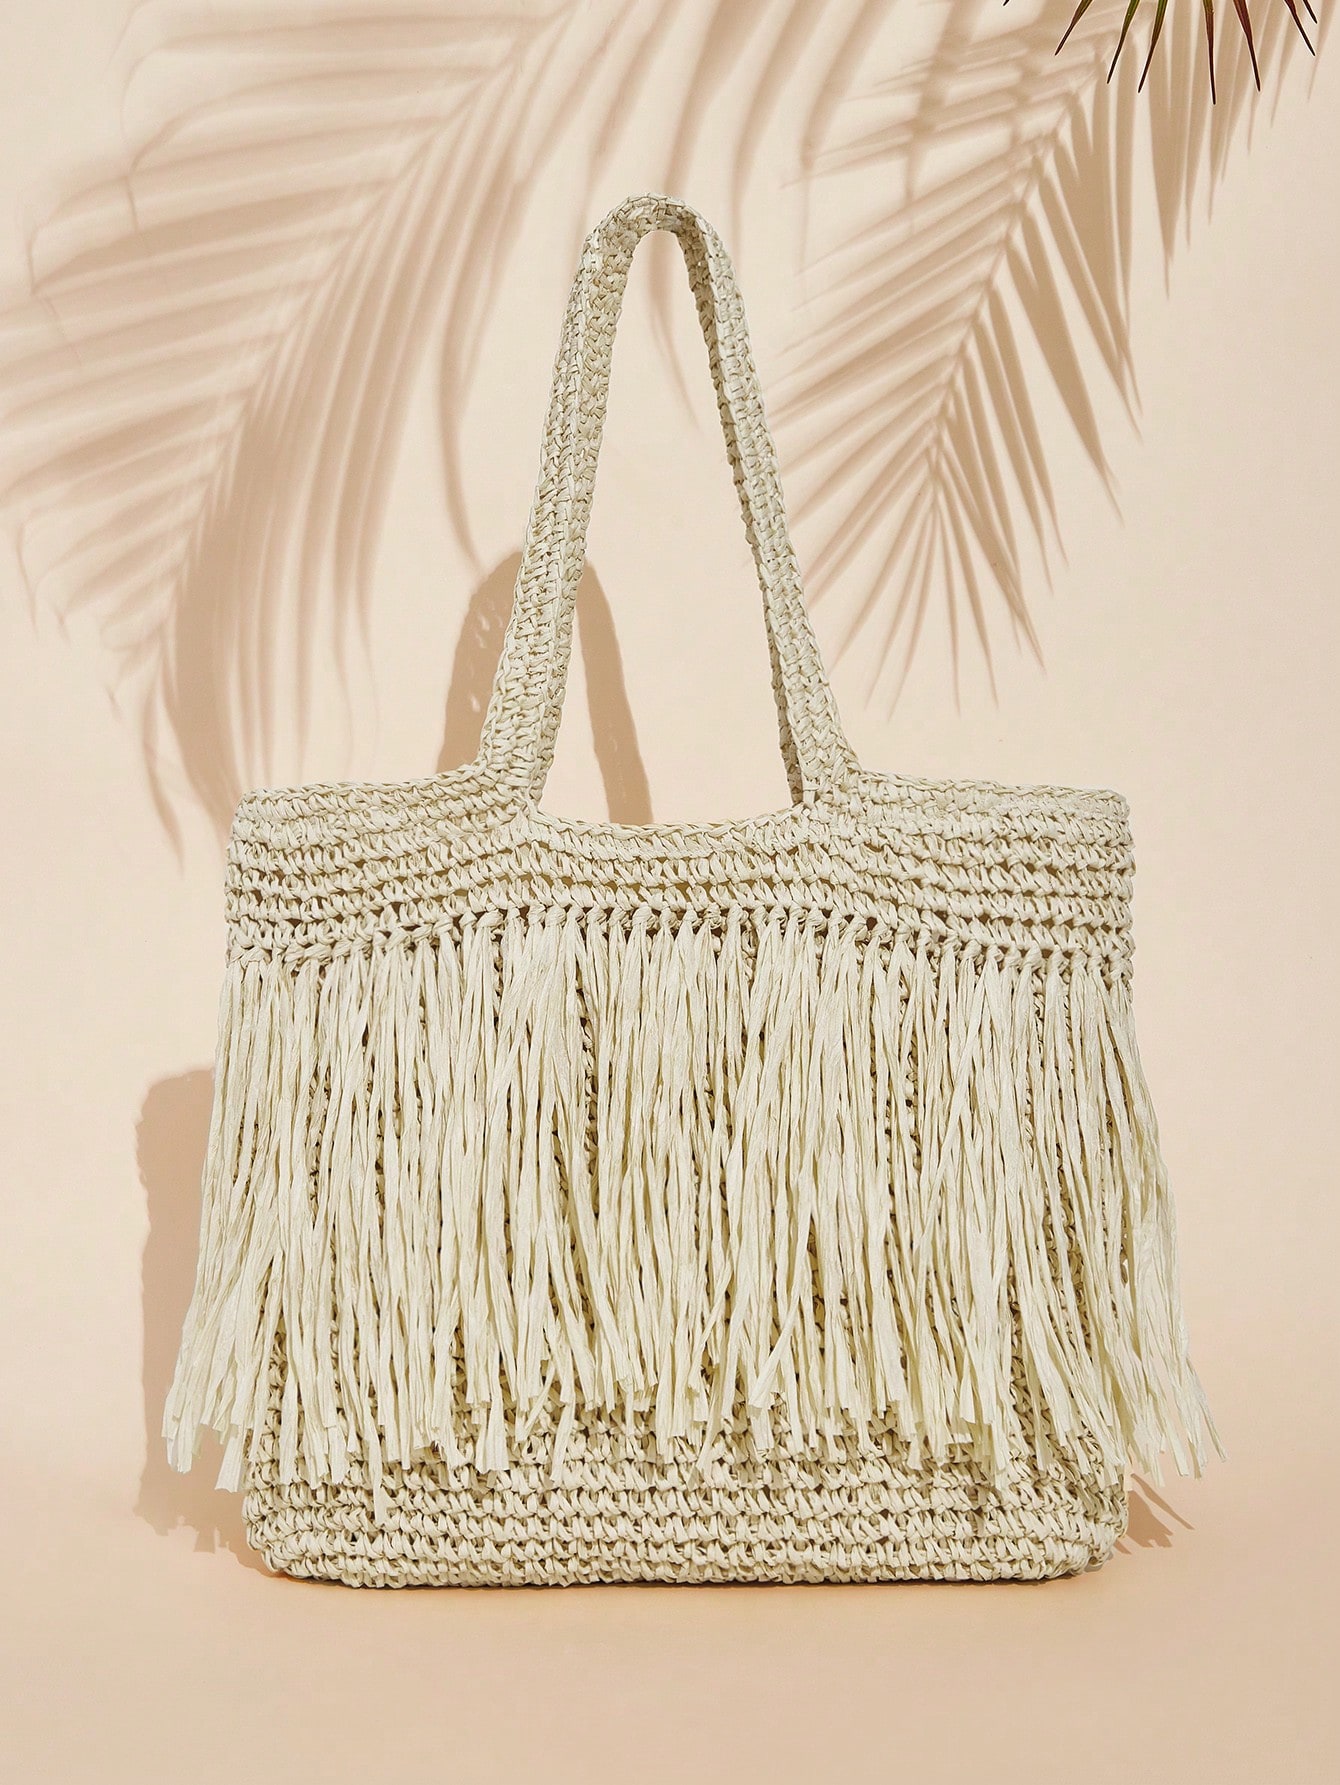
How To Crochet A Summer Tote Bags?

Crocheting a summer tote bag is a delightful and practical project that combines creativity with functionality. Whether you're a seasoned crocheter or a beginner looking to embark on a new crafting journey, creating a tote bag can be both rewarding and useful. In this article, we will explore the essential steps, materials, and techniques needed to crochet a beautiful and durable summer tote bag. We will also address common questions and challenges that may arise during the process.
Materials Needed
Before diving into the crocheting process, it's important to gather all the necessary materials. Here’s a list of what you’ll need:
1. Yarn: Choose a sturdy, washable yarn suitable for summer use. Cotton yarn is an excellent choice due to its durability and breathability.
2. Crochet Hook: The size of the hook will depend on the yarn you choose. Typically, a 4.0mm to 5.5mm hook works well with most cotton yarns.
3. Scissors: For cutting the yarn.
4. Tapestry Needle: For weaving in the ends.
5. Stitch Markers: Optional, but helpful for keeping track of your rounds or rows.
Basic Stitches and Techniques
To crochet a summer tote bag, you should be familiar with the following basic stitches and techniques:
1. Chain Stitch (ch): The foundation of most crochet projects.
2. Single Crochet (sc): A tight, dense stitch that provides structure.
3. Double Crochet (dc): A taller stitch that adds texture and height.
4. Slip Stitch (sl st): Used to join rounds or move stitches without adding height.
5. Magic Ring: A technique to start projects worked in the round, ensuring a tight, adjustable center.
Step-by-Step Guide

Step 1: Create the Base
The base of the tote bag can be either rectangular or circular, depending on your preference.
Rectangular Base:
1. Start with a foundation chain. The length of the chain will determine the width of your bag.
2. Work single crochet stitches into each chain across.
3. At the end of the row, chain one and turn your work.
4. Continue working rows of single crochet until the base reaches your desired length.
Circular Base:
1. Begin with a magic ring.
2. Work six single crochet stitches into the ring and pull tight to close.
3. Continue working in rounds, increasing evenly until the base reaches your desired diameter.
Step 2: Build the Body
Once the base is complete, you will start working on the body of the tote bag.
1. For a Rectangular Base:
- Work single crochet stitches around the perimeter of the base. When you reach the corners, work three single crochet stitches into each corner stitch to maintain the shape.
- Continue working in rounds, building up the sides of the bag. You can switch to double crochet stitches if you want a taller bag with a more open texture.
2. For a Circular Base:
- Work single crochet stitches in a continuous spiral or join each round with a slip stitch, depending on your preference.
- Continue working in rounds, increasing the height of the bag. You can alternate between single and double crochet stitches to create different textures.
Step 3: Add Handles
Handles are an essential part of any tote bag. You can choose to make short handles for a handbag style or longer handles for a shoulder bag.
1. Short Handles:
- Decide on the placement of the handles and mark the stitches with stitch markers.
- Chain the desired length for the handle and attach it to the marked stitch on the opposite side.
- Work single crochet stitches over the chain to reinforce the handle.
2. Long Handles:
- Follow the same steps as for short handles, but make the chain longer to accommodate carrying the bag over your shoulder.
Step 4: Finishing Touches
1. Weave in Ends: Use a tapestry needle to weave in any loose ends securely.
2. Blocking: If necessary, block your tote bag to shape it properly. This involves wetting the bag and shaping it to dry in the desired form.
3. Optional Lining: For added durability and structure, you can sew a fabric lining inside the bag.
Common Challenges and Solutions
1. Uneven Edges: If your edges are uneven, ensure you are working the same number of stitches in each row or round. Using stitch markers can help keep track.
2. Loose Handles: Reinforce the handles by working multiple rows of single crochet stitches over the chain.
3. Bag Losing Shape: Blocking the bag can help maintain its shape. Additionally, using a tighter stitch or a smaller hook can provide more structure.
Tips for Success
1. Choose the Right Yarn: Opt for a sturdy, washable yarn like cotton to ensure your tote bag can withstand regular use.
2. Consistent Tension: Maintain consistent tension throughout your project to ensure even stitches and a professional finish.
3. Experiment with Colors and Patterns: Don’t be afraid to get creative with colors and stitch patterns to make your tote bag unique.
Crocheting a summer tote bag is a fun and practical project that allows you to showcase your creativity while making something useful. By following the steps outlined in this guide, you can create a beautiful and durable tote bag perfect for beach trips, grocery shopping, or everyday use. Remember to choose the right materials, maintain consistent tension, and don’t hesitate to experiment with different colors and patterns. Happy crocheting!


Leave your comment